I have a lot of friends who are at home right now, sheltering in place with their kids. (Don’t we all.) Some have expressed an interest in doing some bread baking, so, I thought I’d share a recipe for the first bread that I ever baked, which is both simple to make, and doesn’t require any fancy equipment, other than a couple of loaf pans and a bowl to mix in.
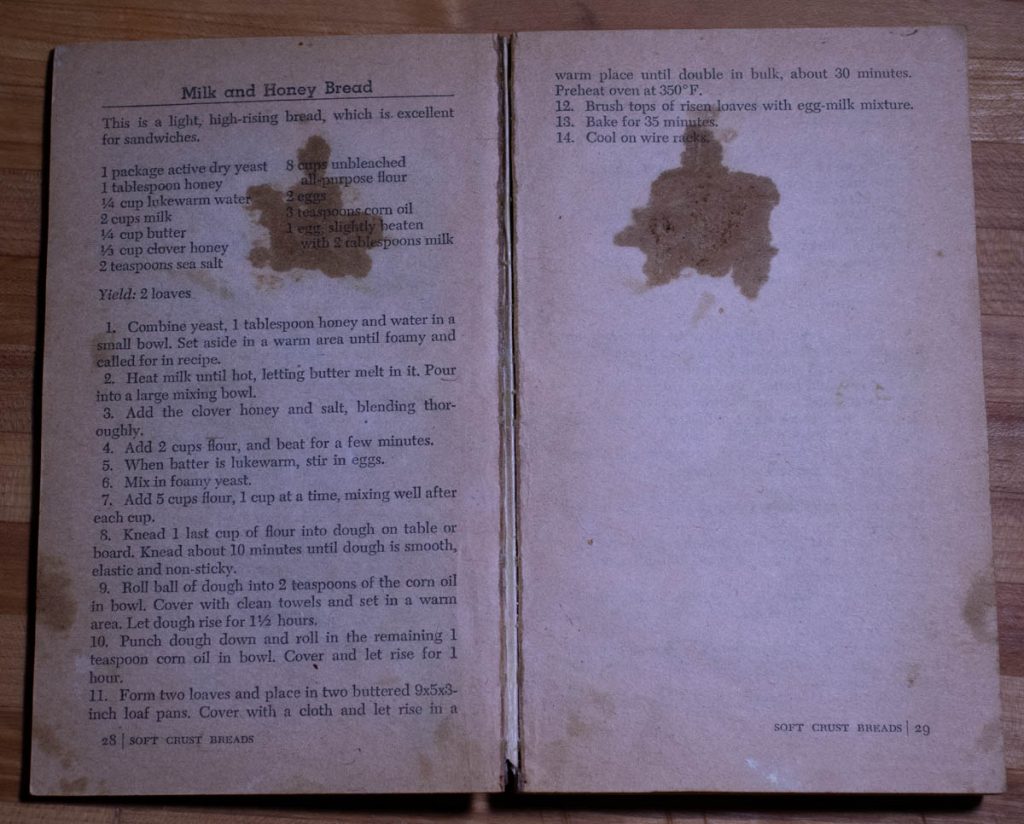
I baked my first loaf of bread when I was probably 19 years old. I was living in San Francisco and working cooking soup at a restaurant in the theater district. Walking home from work one day I stopped into a little bookstore on Geary near Taylor and bought my first bread baking book, “Baking Bread The Way Mom Taught Me”, by Mary Anne Gross. Miraculously, I still have my copy.

I don’t remember if I was specifically looking for a bread book, but I do know that I had recently become interested in bread baking when, along with other people from the restaurant, I went on a tour of a new bakery that was trying to solicit our business. Almost forty years later I still remember that amazing smell of fresh baked bread. I remember the huge walk-in refrigerators and proofers and ovens. (I’m not sure, in retrospect, that the ovens were really walk-in, but that is my recollection).
The bakers at this bakery had come over from France and told us about French baking techniques, and the difference between the French flour they imported for their bread, and flour from the U.S. To this day I remember their rolls, which we did end selling, which were soft and sweet on the inside, with a delicate, crispy crust that crackled when you bit into it. I think I lived on those rolls and lots of espresso for a couple of years.
My interest in bread had been awoken, and when I walked out of that book store with a book about making bread I could feel the beginning of a new obsession…one that is still going strong after almost forty years.
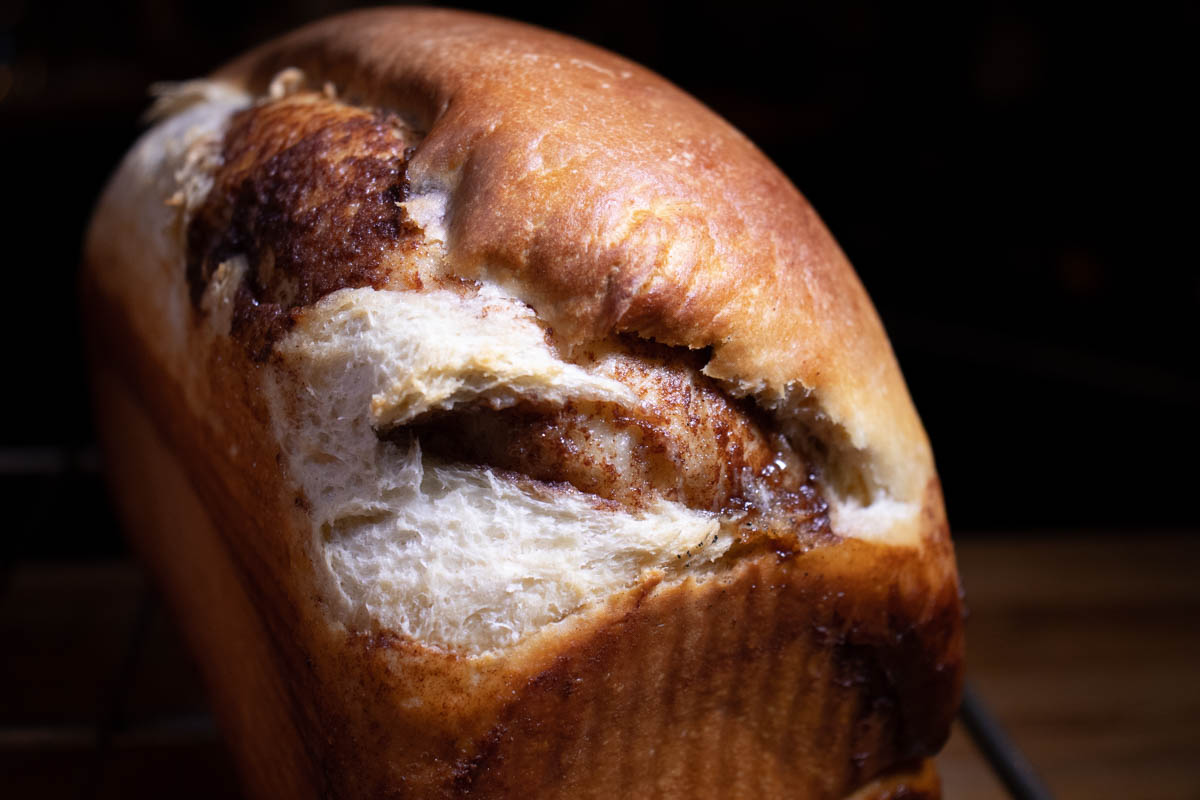
Being a completist I decided to start at the beginning and bake my way through the book. The first recipe is for “Milk and Honey Bread”, which for years was my go-to bread. It’s soft and sweet and delicious simply toasted with butter (or peanut butter) on it, or as the bread (read: most important) part of a sandwich. If you like cinnamon bread, you can also bake it with a swirl of butter and cinnamon sugar.
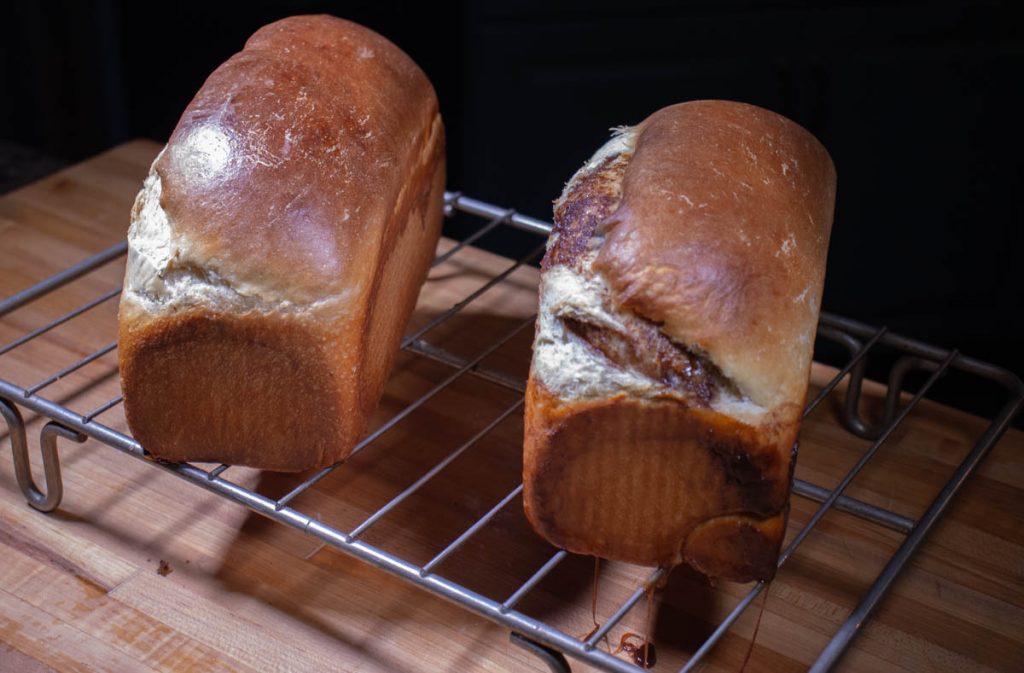
Don’t expect these loaves to survive for long.
Note: I’ve learned a lot about bread baking over the years, and first on the list is the importance of weighing your ingredients. However, back in the day we didn’t all have scales, we just used measuring cups and measuring spoons and the bread was still delicious. So, in the spirit of simplicity and beginning at the beginning, I’m sharing this recipe in its original format. Now that I’ve found this recipe again, I will at some point convert everything to weights and put up that version. But for now, a bake down memory lane.

Milk and Honey Bread
based on a recipe by Mary Anne Gross
1 package instant yeast
1 Tablespoon Honey
1/4 C Lukewarm Water
2 C Whole Milk
1/4 C Butter
1/3 C Honey
2 teaspoons Sea Salt
8 C Unbleached All-Purpose Flour
2 Eggs
3 teaspoons oil (to oil bowl)
1 Egg slightly beaten with 2 Tablespoons Milk (to brush on before baking)
Yield: 2 loaves
Note: The original recipe uses active dry yeast and mixes the yeast with water and honey and waits for it to foam (proofing the yeast). I use instant yeast which you can mix directly into the dough without proofing it first. If you have active dry yeast, then proof it before adding it to the recipe.
- Heat milk and butter over medium heat until butter is melted. Pour into large mixing bowl.
- Add the honey, salt, and 2 cups of flour and beat for a few minutes.
- When the mixture is lukewarm, stir in yeast and eggs.
- Mix in 5 cups of flour, 1 cup at a time, mixing the flour in after each addition.
- Knead for about 10 minutes until the dough is smooth, elastic and not sticky. Use the last cup of flour while you knead to keep the dough from being too sticky. You don’t need to add all of this last cup, just enough to get the proper texture. There’s a video link below on how to knead.
- Make the dough into a neat ball and roll in 2 teaspoons of oil in the bowl that you are going to rise it in. Cover with a clean towel and let rise for 1 1/2 hours in a room that is not freezing cold or super hot (in the 70s).
- Take the dough out of the bowl, topside down, and gently press it down into a circle, not so hard that you press out all of the air. Gather up the sides and make it back into a ball, roll in remaining 1 tsp of oil, and let rise for about 1 hour. It is done when you press a flour covered finger into the dough and it bounces back gently. If it bounces back too strong, it’s not done yet, if it doesn’t bounce back at all, it’s probably over-proofed.
- Preheat the oven to 350.
- Form two loaves and place them in buttered 9x5x3 inch loaf pans. Cover with a cloth and let rise for about 30 minutes. You can use the same test as above to test when they are ready to bake. (See video below about how to form loaves, if you want. Or just cut the dough into two equal pieces, roll them up into something that resembles a loaf, and put it in the buttered pan to rise.)
- Brush the tops of the risen loaf with egg-milk mixture.
- Bake for 35 minutes, until it’s nicely browned.
- Cool on wire rack.
Here’s a video from King Arthur Flour about how to knead dough. There are a number of different techniques, so if you are bored you can search YouTube for bread kneading videos.
Here is a video from King Arthur Flour about how to shape and bake a basic white loaf.
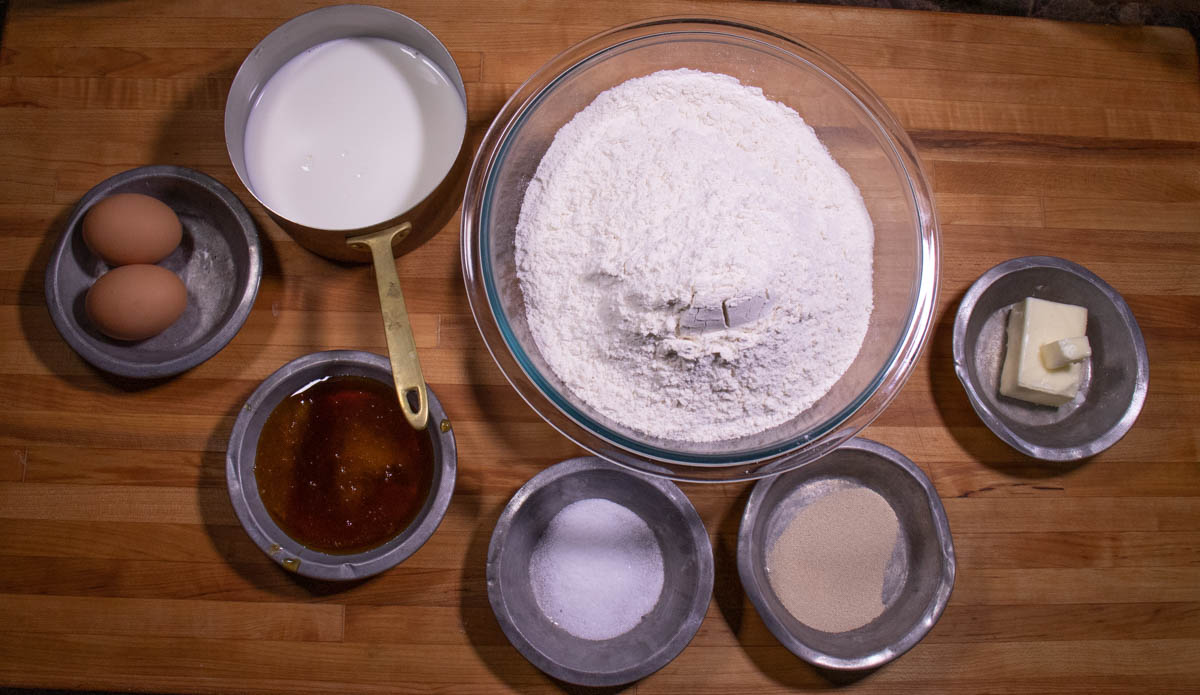
Milk and Honey Bread – Ingredients ready to go 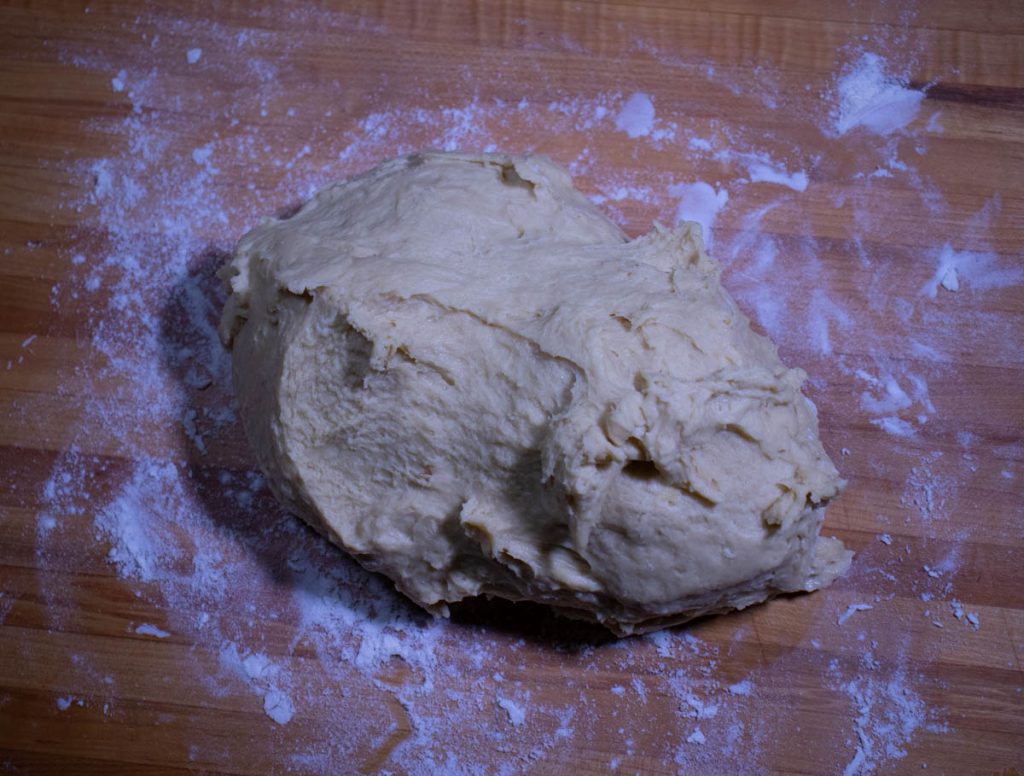
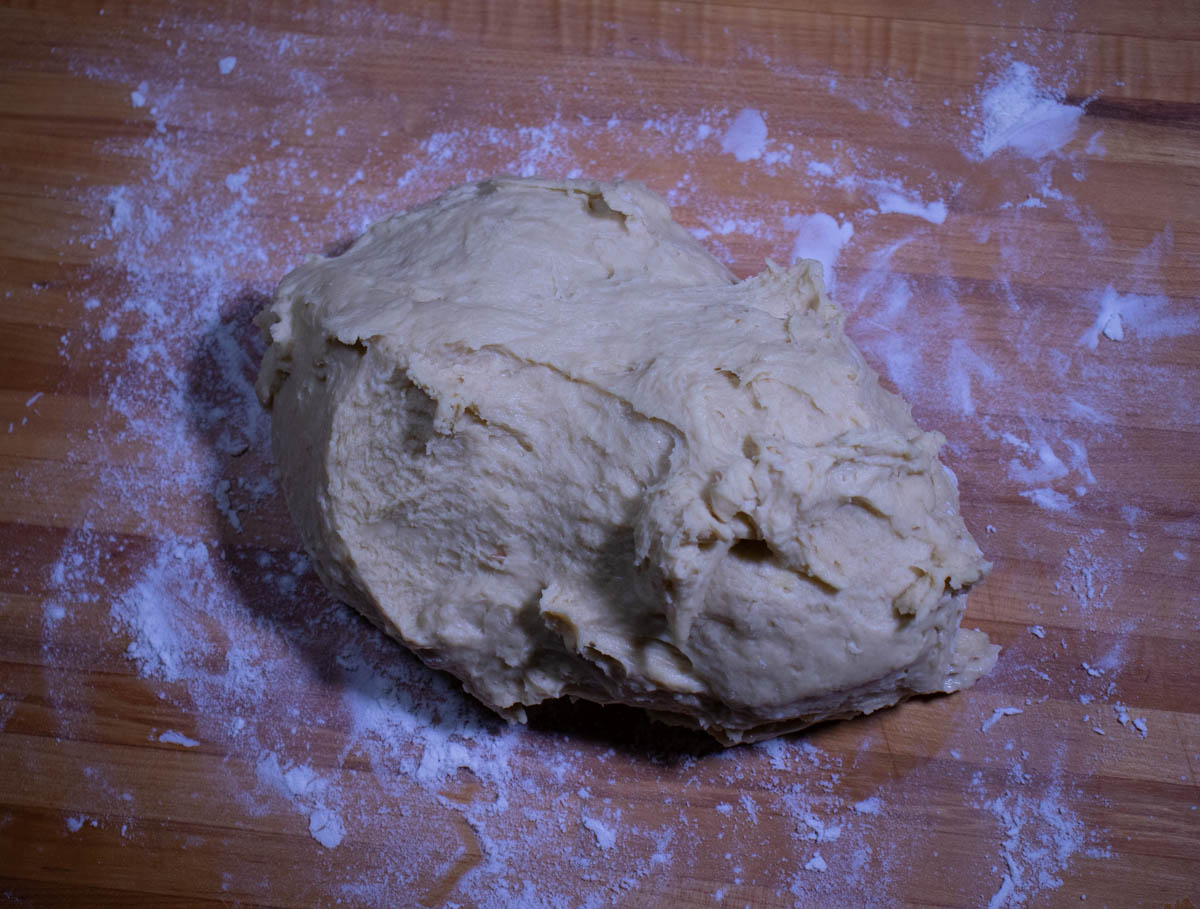
Mixed dough 
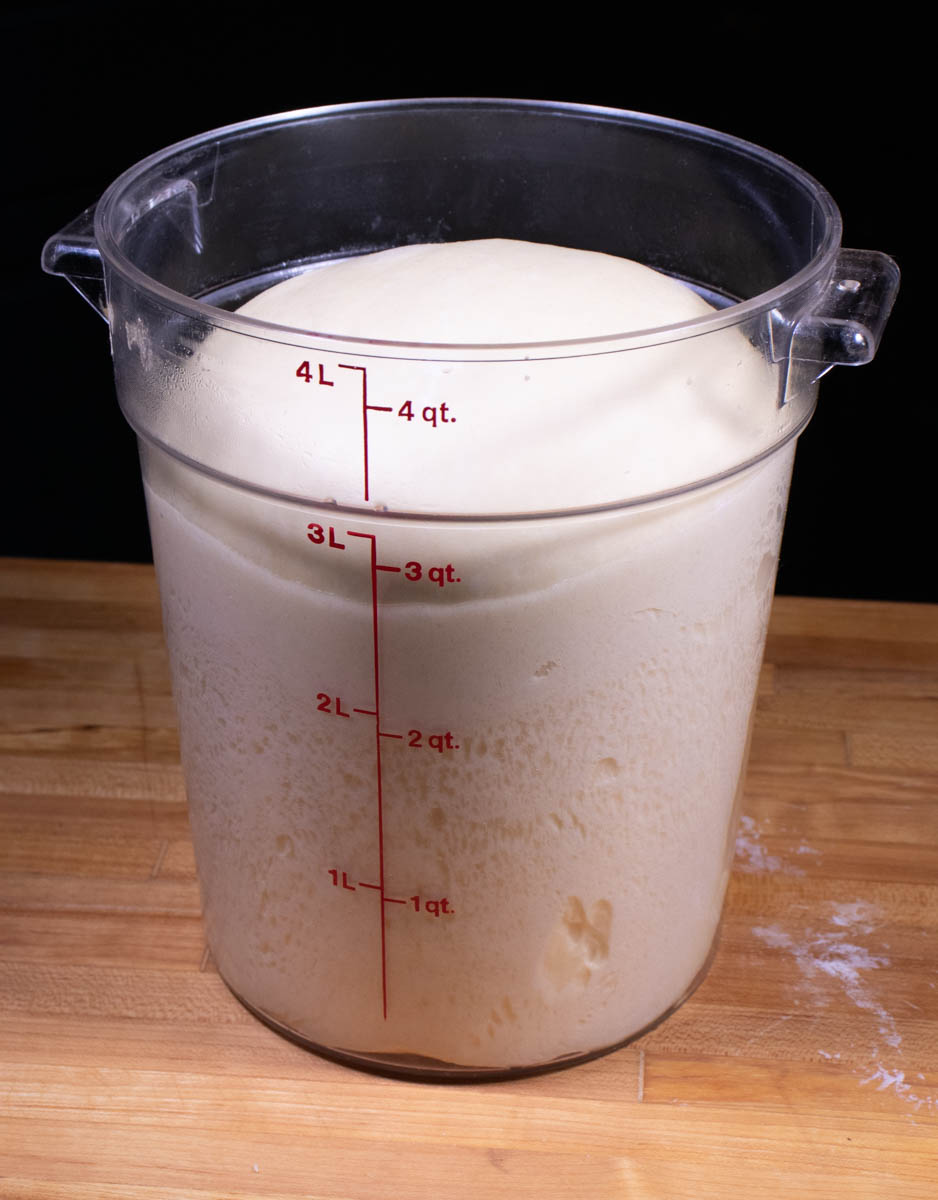
After 2 1/2 hours rising 
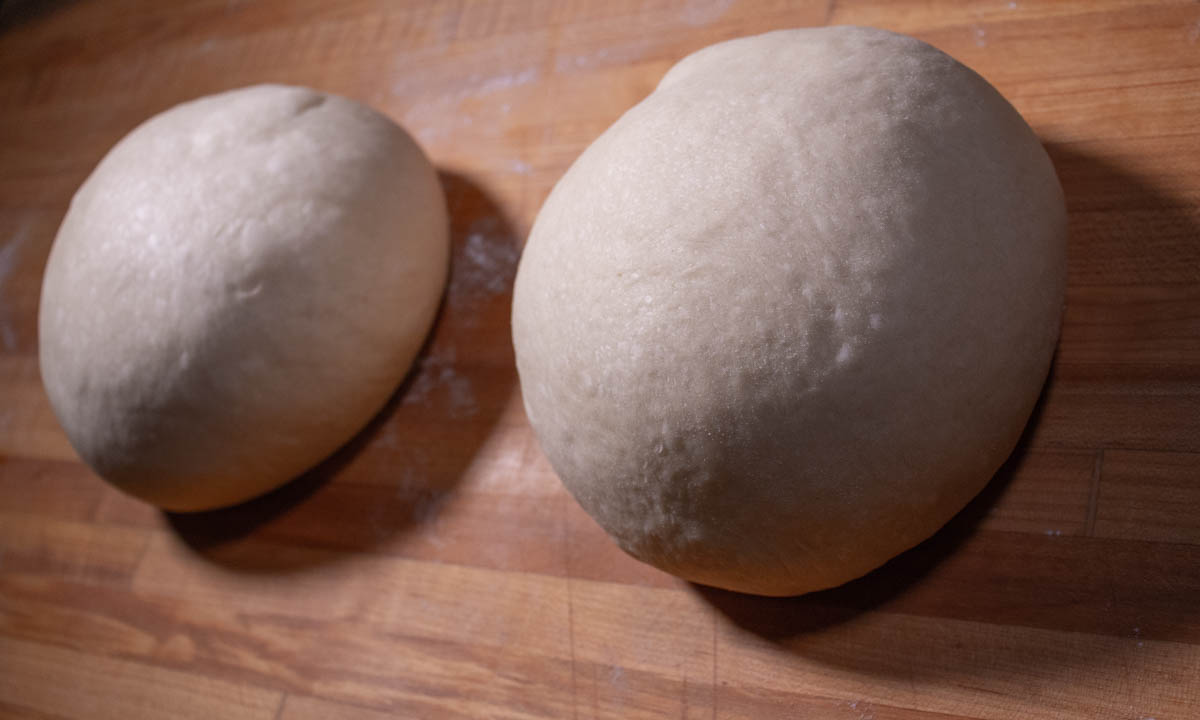
Pre-shaped dough 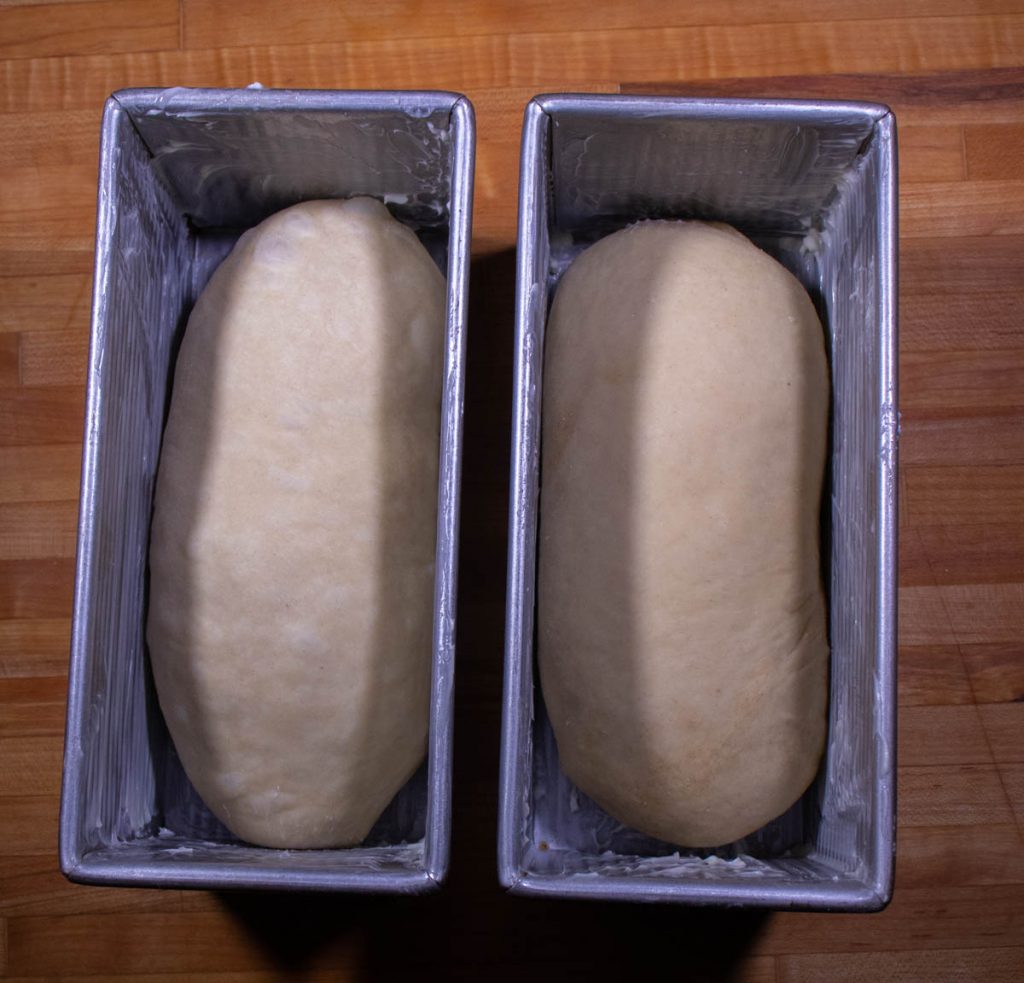
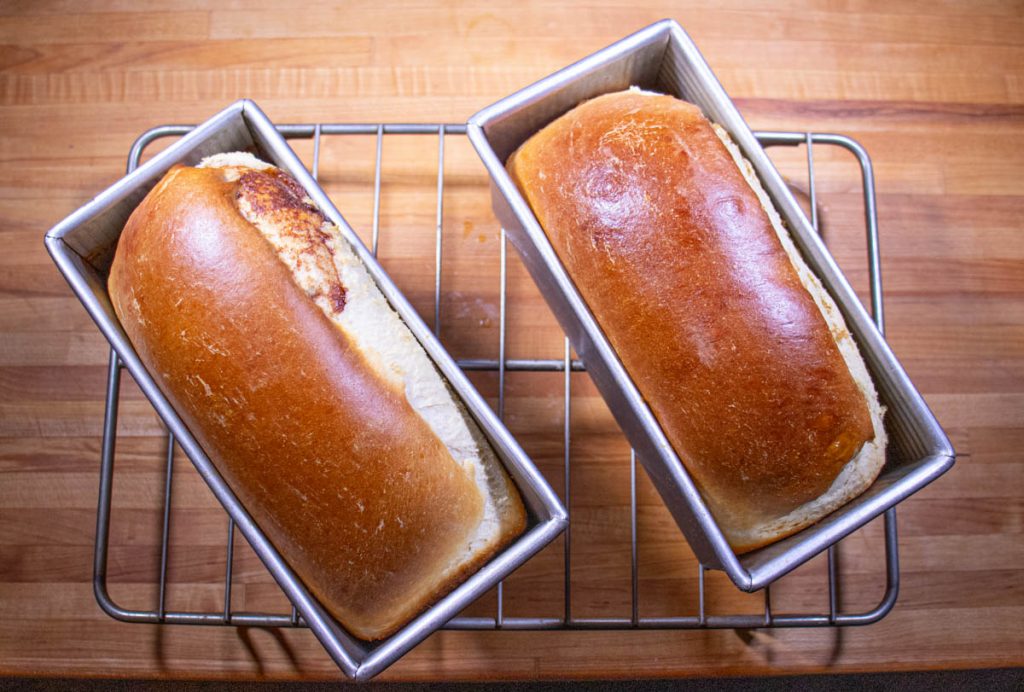
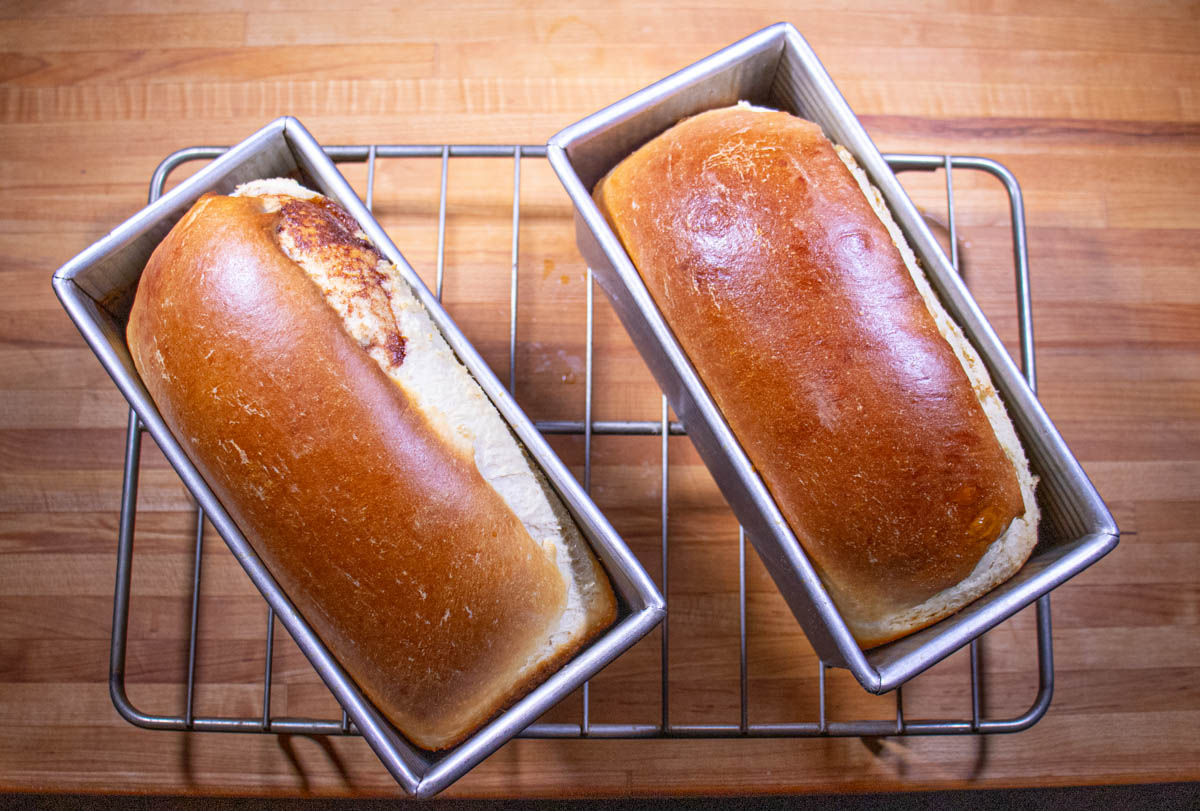
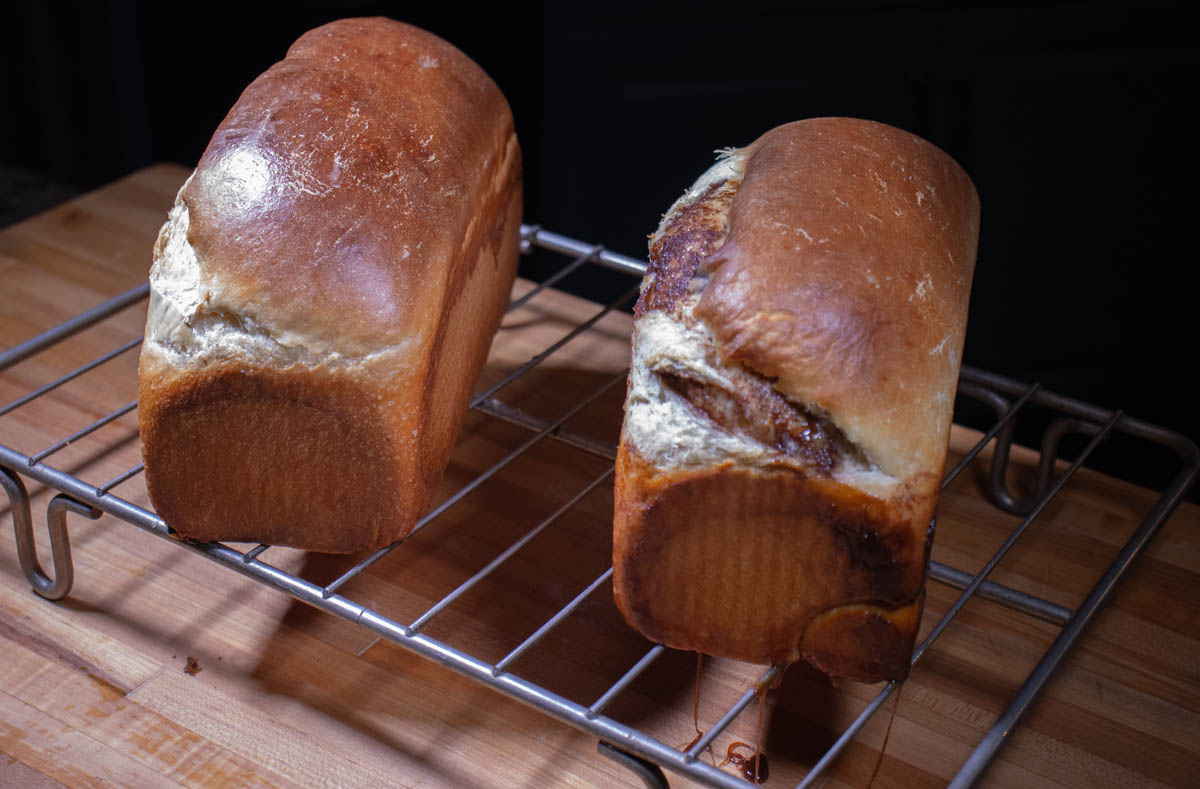
Shaped dough in the pans. Fresh out of the oven And out of the pans 
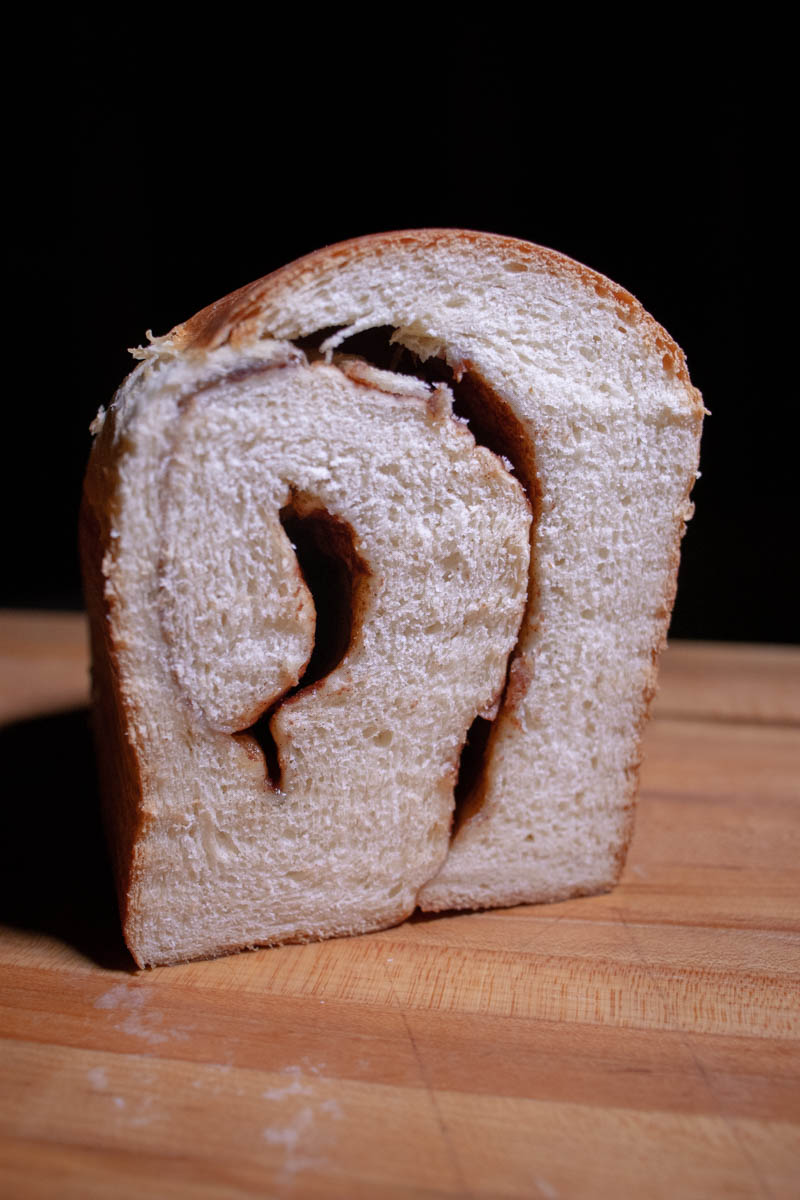
With a cinnamon swirl 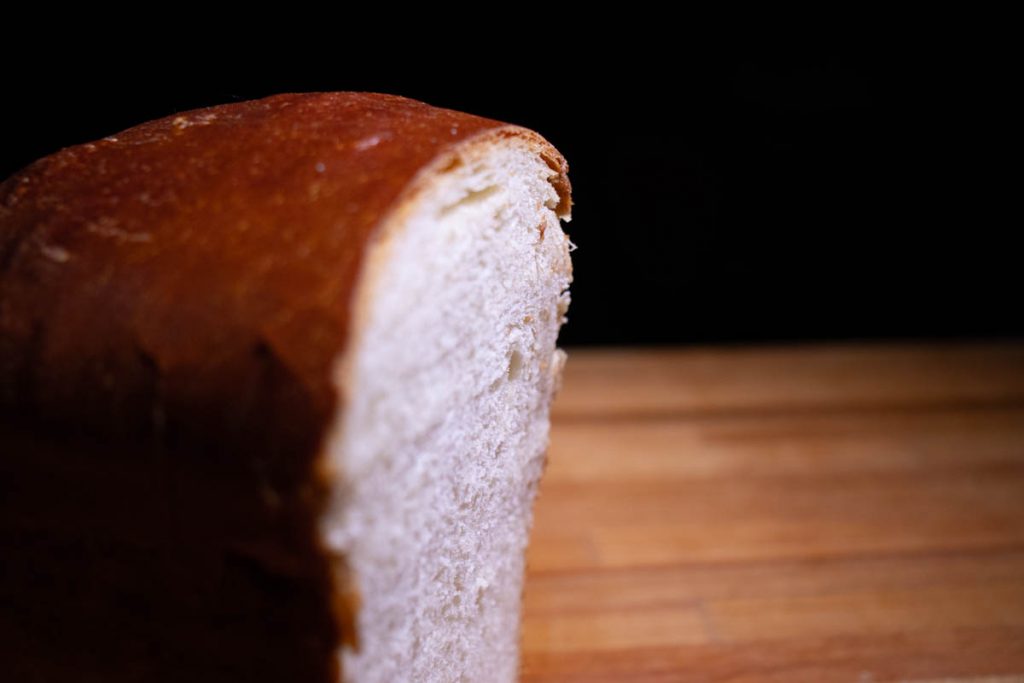
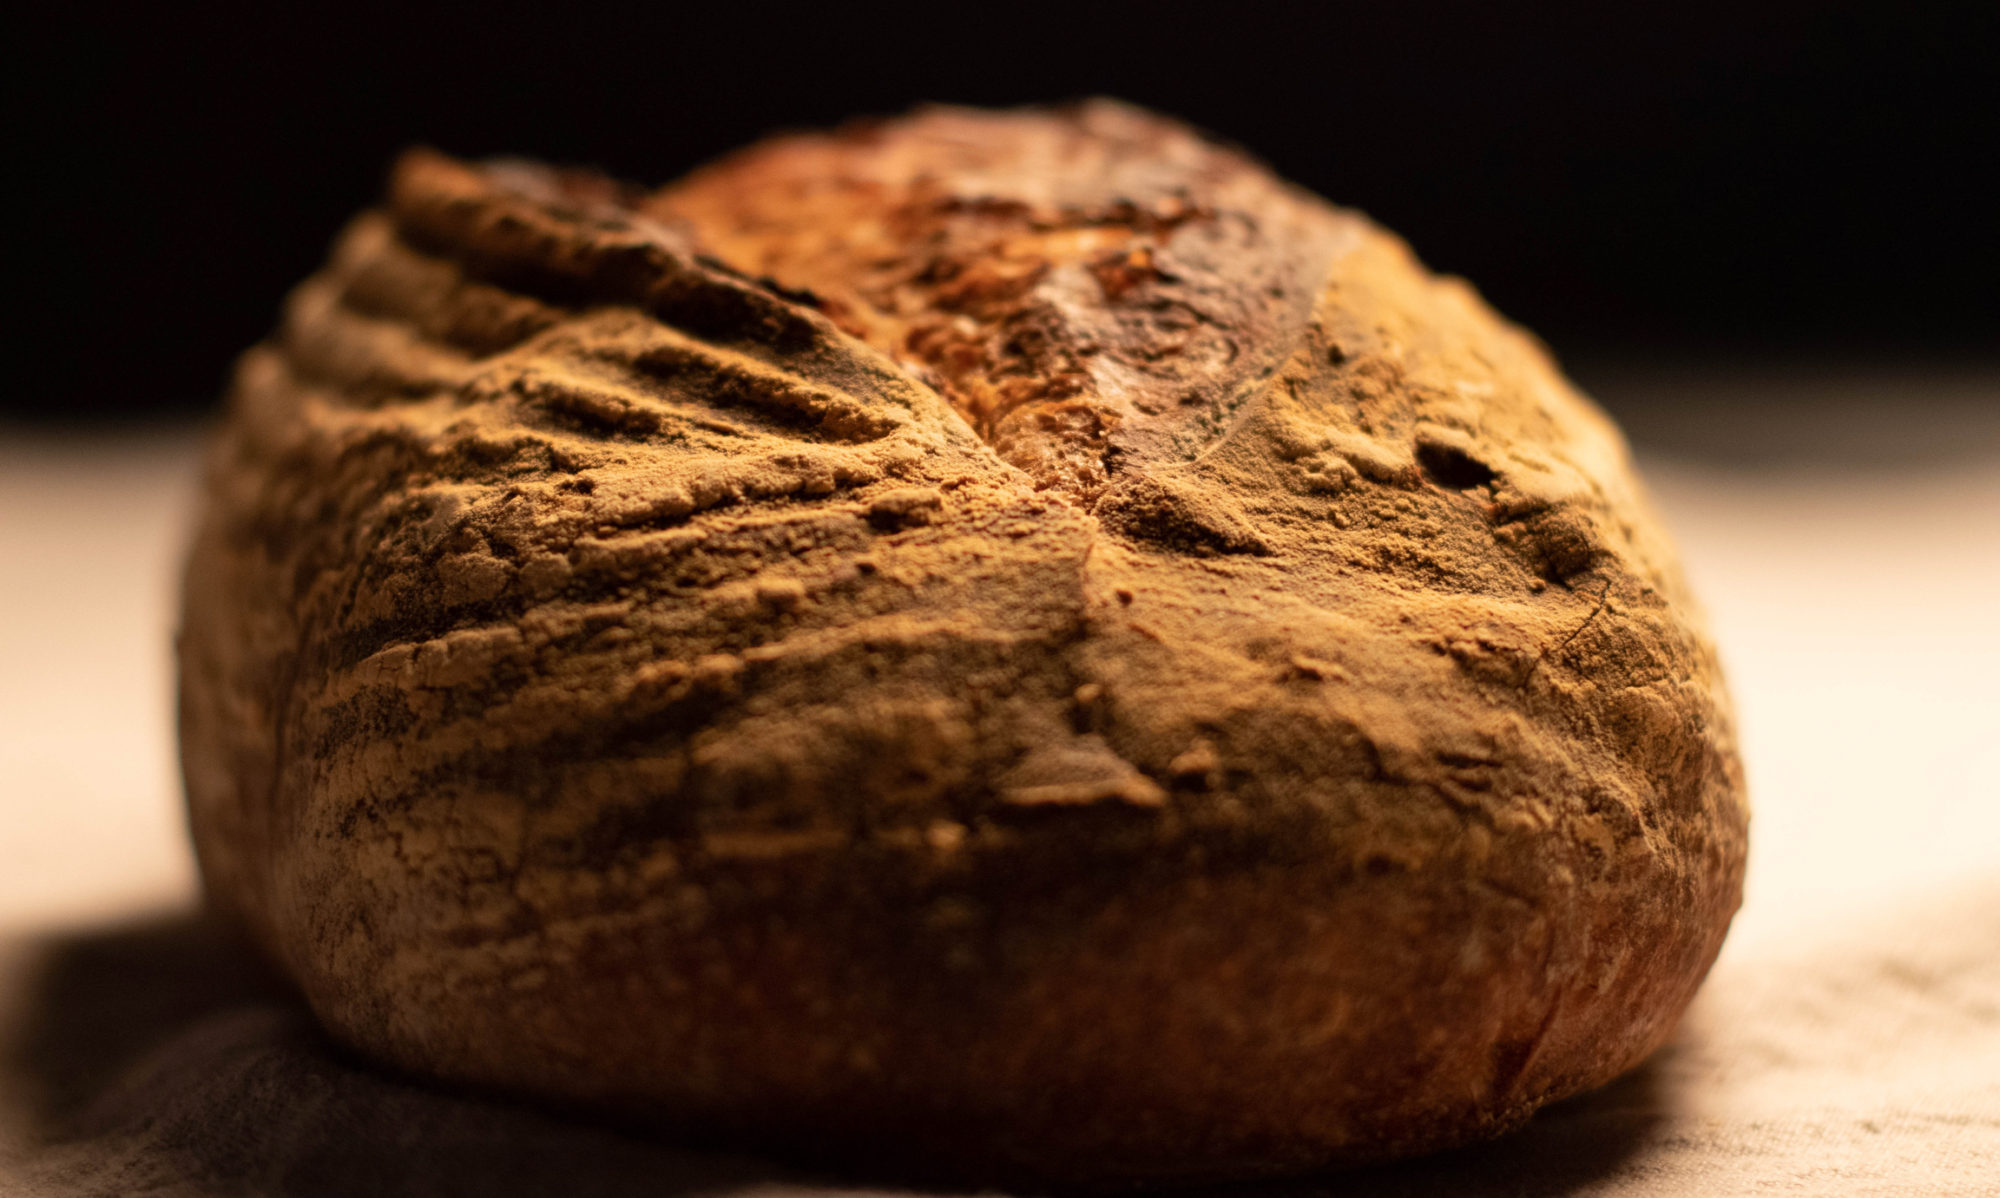
Milk and Honey Bread


I hope you enjoy this loaf as much as I did way back then…and – as he stuffs a slice of buttered toast in his mouth – as much as I am now.